Hi All,
Mama (aka Megan) and the family have received their package, so it’s time to start blogging about everything I made for Baby Rainbow (aka Rainy). In case you missed it, here are the Baby Mitten Socks and Tulip Stitch Headband I made for her and blogged about in the past.
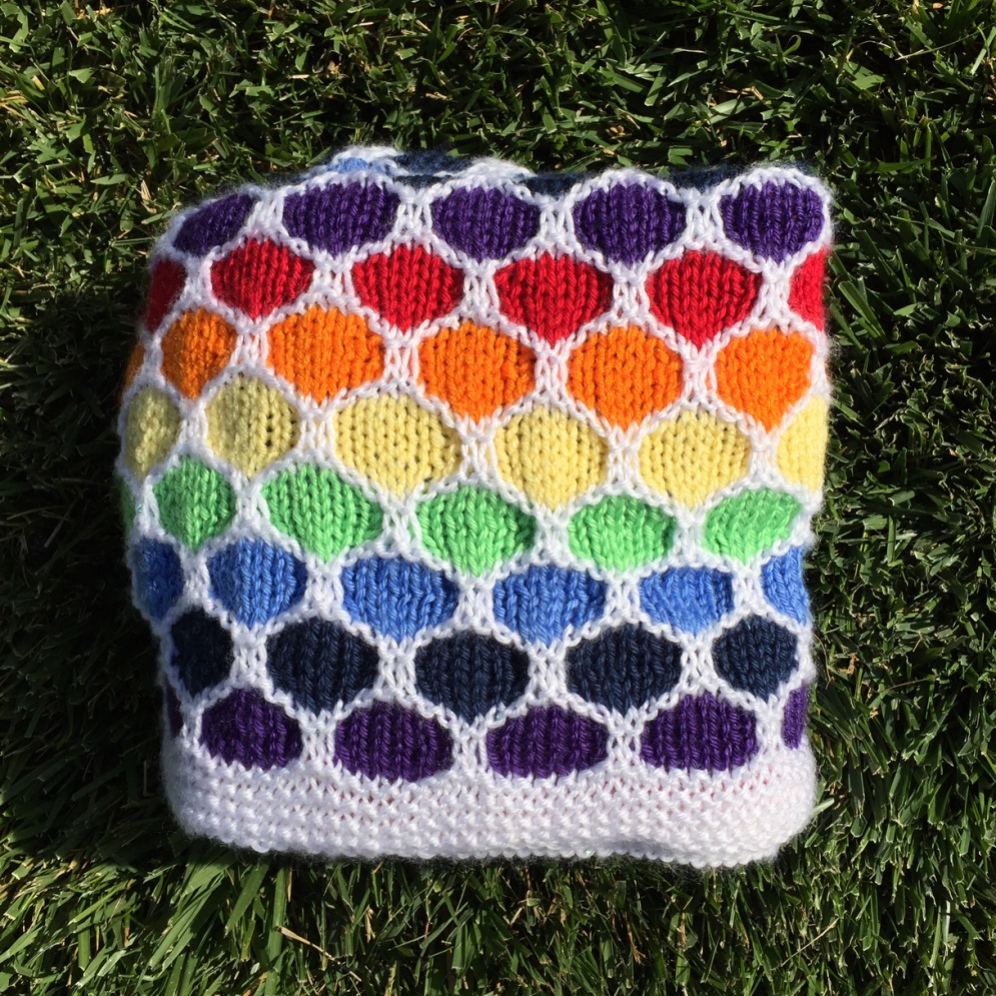
Let’s start with the Rainbow Blanket. I knew that Megan might like a rainbow blanket. The first thing I did was start a Baby Rainbow board on Pinterest and send it to her to get an idea of the colors she was drawn to. She really liked the natural colors of the rainbow versus the pastel palette that I liked so I’m really happy that I sent the board to her first. I did not let her pick the blanket itself because I wanted it to be a surprise.
Next, I had to decide if I wanted to knit or crochet. Knitting takes longer; however crochet uses more yarn. After thinking about it, I knew I was starting so far in advance of her due date that I could do either. After that it was a simple agonizing choice of which blanket. Guys…there are literally hundreds of thousands of baby blankets out there! I was very attracted to the Honeycomb Throw by Red Heart just because of the way it looked. While browsing pictures of others FO’s in Ravelry, I saw a rainbow one and was immediately hooked.
I knew that I was going to have to buy yarn, even though I’m on a yarn diet, because I didn’t have all the colors of the rainbow. A lesson learned here…I had Red Heart Super Saver Solids in Lemon and Pumpkin. When I went to the store, I bought Caron Simply Soft in the other colors I needed, plus the sparkly white for the cloud appearance of the border / honeycomb pattern. Don’t do this! I repeat…do not do this! Although everything worked out in the end, the Red Heart was a thicker ply than the Simply Soft, even though it was listed as the same ply and weight. It had me really worried the entire time I was making the blanket.

I swatched and didn’t like the fabric on the recommended needle size of US 10 (6.0 mm) so I went down to a size US 8 (5.0 mm). I also knew that I didn’t want it as big as the throw size from the pattern, so I had to do a little math to determine the proper size. I wound up casting on with 142 stitches. I needed 10 stitches total for both ends (the border is knit at the same time as the honeycomb pattern) and the honeycomb pattern itself was in multiples of 8 stitches + 4. My math was correct (yay me!) and the final blanket wound up being a perfect size of 32″ x 40″. She’ll be able to use this her whole life if she wants.
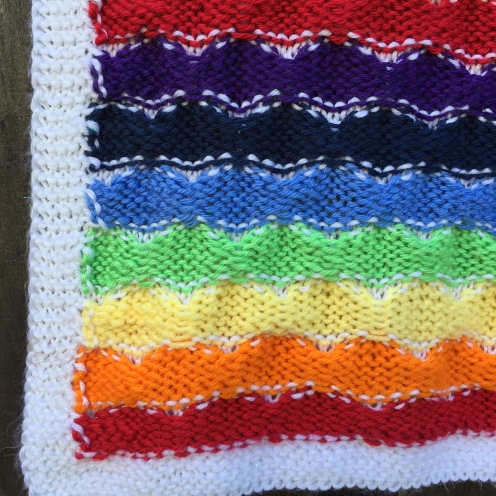
Also, this…for those who do not like finishing…this would be your worst nightmare. Look away if you must. Believe me, I was not going to wait until the end to weave in all those ends. I think if I would have waited, I would have never finished it.

I washed the blanket in Newborn Dreft and then steam blocked it since it’s acrylic yarn. It turned out super soft and snuggly and smells so good. Normally, I would list out all the information, however I’m going to send you to my Ravelry link this time for the project because there is just too much yarn to list and too many notes 🙂 All in all, I really loved the pattern and would definitely make this again. The honeycomb pattern itself was easy to memorize and a lot simpler than it looks.
Without further ado…the FO!
Until next time, Happy Knitting!


Wow, what a piece! How diligent and patient you are. I’m sure they loved it and what smiles they will have every time they lay eyes on it.
LikeLiked by 1 person
Thank you Stefanie! She was over the moon about all of the gifts but was especially in awe of the blanket. She said it makes her want to learn how to crochet and knit 🙂 Maybe I’ll teach her the next time I’m in Indiana.
LikeLike
That’s a beautiful pattern! I cringed a little when I saw all the ends to weave in! I also weave in the ends as I finish a section or it will take me forever to finish. I’ll have to try that pattern sometime. 🙂
LikeLiked by 1 person
Thank you, Carl! I did too. After doing two full repeats, I was like “enough is enough” and got busy weaving them in. Luckily I was at my Knitting Group meetup and it was super easy to do while talking.
LikeLiked by 1 person
The blanket looks great! There’s one version of the honeycomb stitch blanket where you knit it in the round and then cut it open. I’d be tempted to try that one! LOL! I think the idea was turn the ends into fringe. So that meant there was 4 inches of fabric in the center that you knit but eventually got unraveled. I could be convinced!
LikeLiked by 1 person
Oh my! I think that would frighten me more than all the ends 🙂 Thank you, Emily!
LikeLike
What a spectacular blanket! All those ends make me a little faint, but the back looks so neat – great job!
LikeLiked by 1 person
Thank you, Mandy! I appreciate it 🙂
LikeLiked by 1 person
Wow! What a beautiful blanket. Definitely worth all that time spent sewing in ends.
LikeLiked by 1 person
Thank you, Bekki! I think so too 🙂
LikeLiked by 1 person
Paula, this is so stunning! So much hard work .. it’s such a generously sized blanket and just so darn cute! I’m sure the mama (and when she gets older, the baby!) are going to treasure this for many, many years to come!
LikeLiked by 1 person
Thank you so much, Katherine! It was definitely a labor of love ❤ Mama has already said that she can see this becoming a much loved blankie, just as her two oldest still have. I can't wait to see her wrapped up in it 😀
LikeLiked by 1 person